How to Start Backcountry Skiing: A Brief Guide
So you’re wondering how to start backcountry skiing. Your friends have told you about all the fresh pow that’s waiting out there for you. You’re dying to know what it’s all about.
First things first: backcountry skiing or boarding is dangerous, and there is no way around that fact. There are ways to minimize the danger through training, terrain evaluation, avalanche forecasts, experience, technology, etc. but there will always be an element of danger so keep that in mind.
What is Backcountry Skiing or Snowboarding
If you’re reading this guide, you likely have a good idea what backcountry skiing is (maybe you’ve even read the Wikipedia article about backcountry skiing), but let’s clarify things just in case. Everything in this guide applies to backcountry snowboarding as well, so if you’re a boarder, read on, but I’ll most often be using the term backcountry skiing (don’t be offended, I love boarders too!)
You might be wondering what in the heck people are talking about when they say they’re going ‘backcountry skiing’. Well it can mean a few different things, but let’s discuss the most common ones.
Note that a lot of people will use backcountry skiing and alpine touring interchangeably, so keep that in mind. To some people, alpine touring or simply ‘touring’ usually refers to longer, multi-day trips that are fully human-powered, but that isn’t always the case.
Backcountry skiing is also known as off-piste skiing (common in europe) and uphill skiing in some circles (I have a feeling this second term is mostly used as a joke). Uphill skiing is almost exactly what backcountry skiing is, unless we’re talking about cat-skiing or heli-skiing, more on that below.
You strap ‘climbing skins’ to the bottom of your skis, which give you grip in one direction and glide in the opposite direction (kind of like cross country skis). You have special bindings that allow your heels to be free (again, kind of like cross-country skiing) so you can kind of walk/shuffle along in your skis. Then, you hike. Uphill. When you get to the top, you rip off your skins, lock your heels back down and ski.
What Exactly is the Backcountry?
When talking about skiing or snowboarding, the backcountry is basically anywhere in the mountains that isn’t part of a ski resort and doesn’t have ski patrol to rescue you if anything goes wrong (more on how to deal with that later).
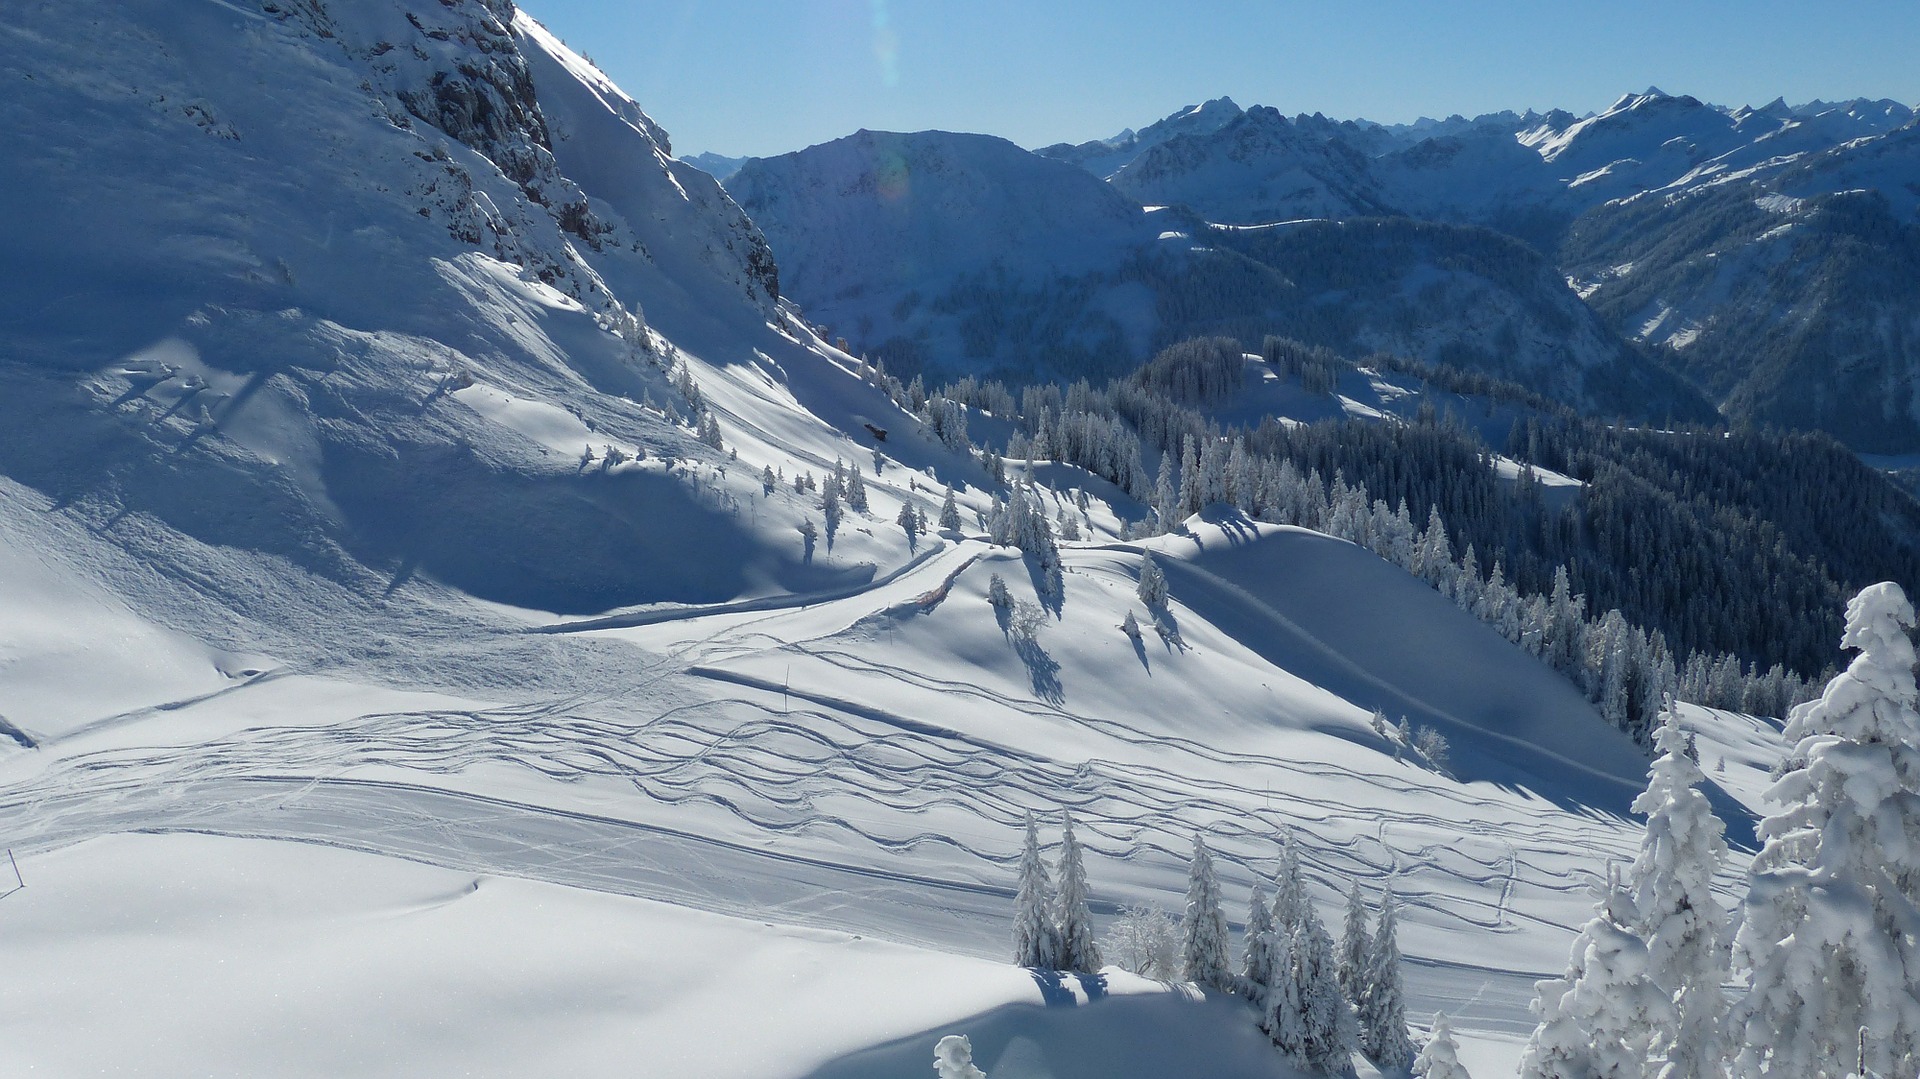
It’s the wilderness. None of the trails are groomed or marked for hazards, so you are really on your own out there.
But, with the absence of groomers comes the potential for deep, untouched powder turns, and that is what gets a lot of people hooked on backcountry skiing, myself included.
Safety First!
One of the main goals of this site is to teach people safe habits for backcountry travel. You’ll notice this theme as you read on.
Beacon, shovel, probe. You should always have these with you when venturing into the backcountry. I’ll go over what each of these are exactly in a future post.
Yes, I know the proper name for a beacon is a transceiver, but it just doesn’t have the same ring to it. Transceiver, shovel, probe…too many syllables if you ask me.
Avalanches are a real danger
Experienced backcountry travelers get caught in avalanches every year. Even professionals. Let that sink in. Years of good decisions can quickly be outweighed by one bad decision or one bit of bad luck without proper preparation.
Avalanches may be the first thing you think of in terms of danger in the backcountry, but there is also the risk of injury, dehydration, exhaustion, hypothermia and even the danger of hungry bears (although luckily this one isn’t very likely).
I know this sounds a bit scary, and it’s meant to be. It would be irresponsible of me to make you think otherwise.
But enough doom and gloom. You’re here for fun, and let me tell you, there is nothing better than a sunny day in the backcountry carving turns in untouched powder when the snowpack is stable. With proper training and the right attitude, you too can enjoy everything the backcountry has to offer.
How to Start Backcountry Skiing: You Have Options
Before I (or you) go any further, I have to ask that you please don’t do any of this without proper avalanche safety training. The proper steps to safe (and fun!) adventures in the backcountry will be covered in a later article.
If it’s impossible for you to get formal training, read as much as you can about avalanche safety and wilderness first aid, learn from experienced backcountry skiers, and stick to low-angle terrain (which has a low risk of avalanche) until you’ve gained some experience.
There are many ways to get out into the backcountry. The articles on this site mainly focus on human-powered adventure, but this will give you an overview of all the options available.
To reach the backcountry, you can go outside of the ropes/boundary of a ski resort, fly to the top of a mountain in a helicopter, get a ride in a cat (not the fuzzy kind, a snowcat), use a snowmobile, or hike using backcountry skis, bindings, and skins (also known as skinning – don’t worry, we’ll get there).

Heli-Skiing
The easiest, but most expensive (by far!) way to get fresh powder turns in the backcountry is by getting a lift in a helicopter (or heli-skiing). You hop into a helicopter after putting your skis in special racks outside and get dropped off at the top of your next ski run. After you unload, the heli heads to the bottom to meet you for the next run.
You will usually have two guides with you to show you where the powder stashes are and to help you avoid dangerous terrain.
This will cost thousands of dollars a day and on multi-day trips you’ll usually be staying in a swanky lodge with excellent food and drink.
It’s expensive but you will get a lot of turns in compared to the other options in this list because helicopters are, you know, FAST. Think about how much faster a helicopter can get to the top of a mountain compared to hiking…ya, huge difference.
Cat-Skiing
The next option on the list is cat skiing (or snowcat skiing). Cat skiing was born in British Columbia, Canada. Over the years, it has gotten much closer to heli-skiing over the years in terms of ski quantity and quality. Cats have gotten faster and more capable allowing for more trips during a day.
A snowcat is basically a cabin perched on what look like bulldozer treads, so it has serious off-road capabilities. As a skier, you sit in the cabin with your fellow skiers and guides while the cat driver uses the machine to get you to the top of the next ski run.
You get to the top, unload all the gear, and the cat starts back downhill. Meanwhile, you get ready to find the pow and then start your run. Once your run is complete, you meet the cat at the bottom and do it all over again.

As with heli-skiing, cat-skiing is usually guided. This makes it a great choice for people that aren’t comfortable making their own decisions about avalanche risk.
Cat skiing is usually a few hundred dollars a day, but can be found for as little as ten dollars a run. You’ll see this at some ski resorts – the cat will take you to terrain that you can’t reach using the lifts.
Similar to heli-skiing, you can also find swanky multi-day cat skiing trips complete with timber frame lodges and excellent food and drink to recharge each evening.
Sled (Snowmobile) Skiing
Sled skiing is quickly becoming a popular way to get some turns in the backcountry. The only thing you need is a sled that is capable of dealing with deep powder and climbing relatively steep inclines. Or you can find a friend that has one. You won’t be using Grampa’s rusty old sled for this or you’ll have a very bad time.
Two or more people strap their skis/boards to the sled, and up they go! One person will ride the sled back down to meet the other rider(s) and typically trade off each run.
The upsides to sled skiing are fairly obvious – you can go anywhere your sled will take you. It’s also waaay faster and easier than hiking (unless you get stuck…it happens and it suuuucks).
The downsides are that you have to buy a sled (duh). You will also need a truck or trailer to haul it around, pay for all that gas, etc. But hey, if you have a truck already and space for a sled why not give it a shot?
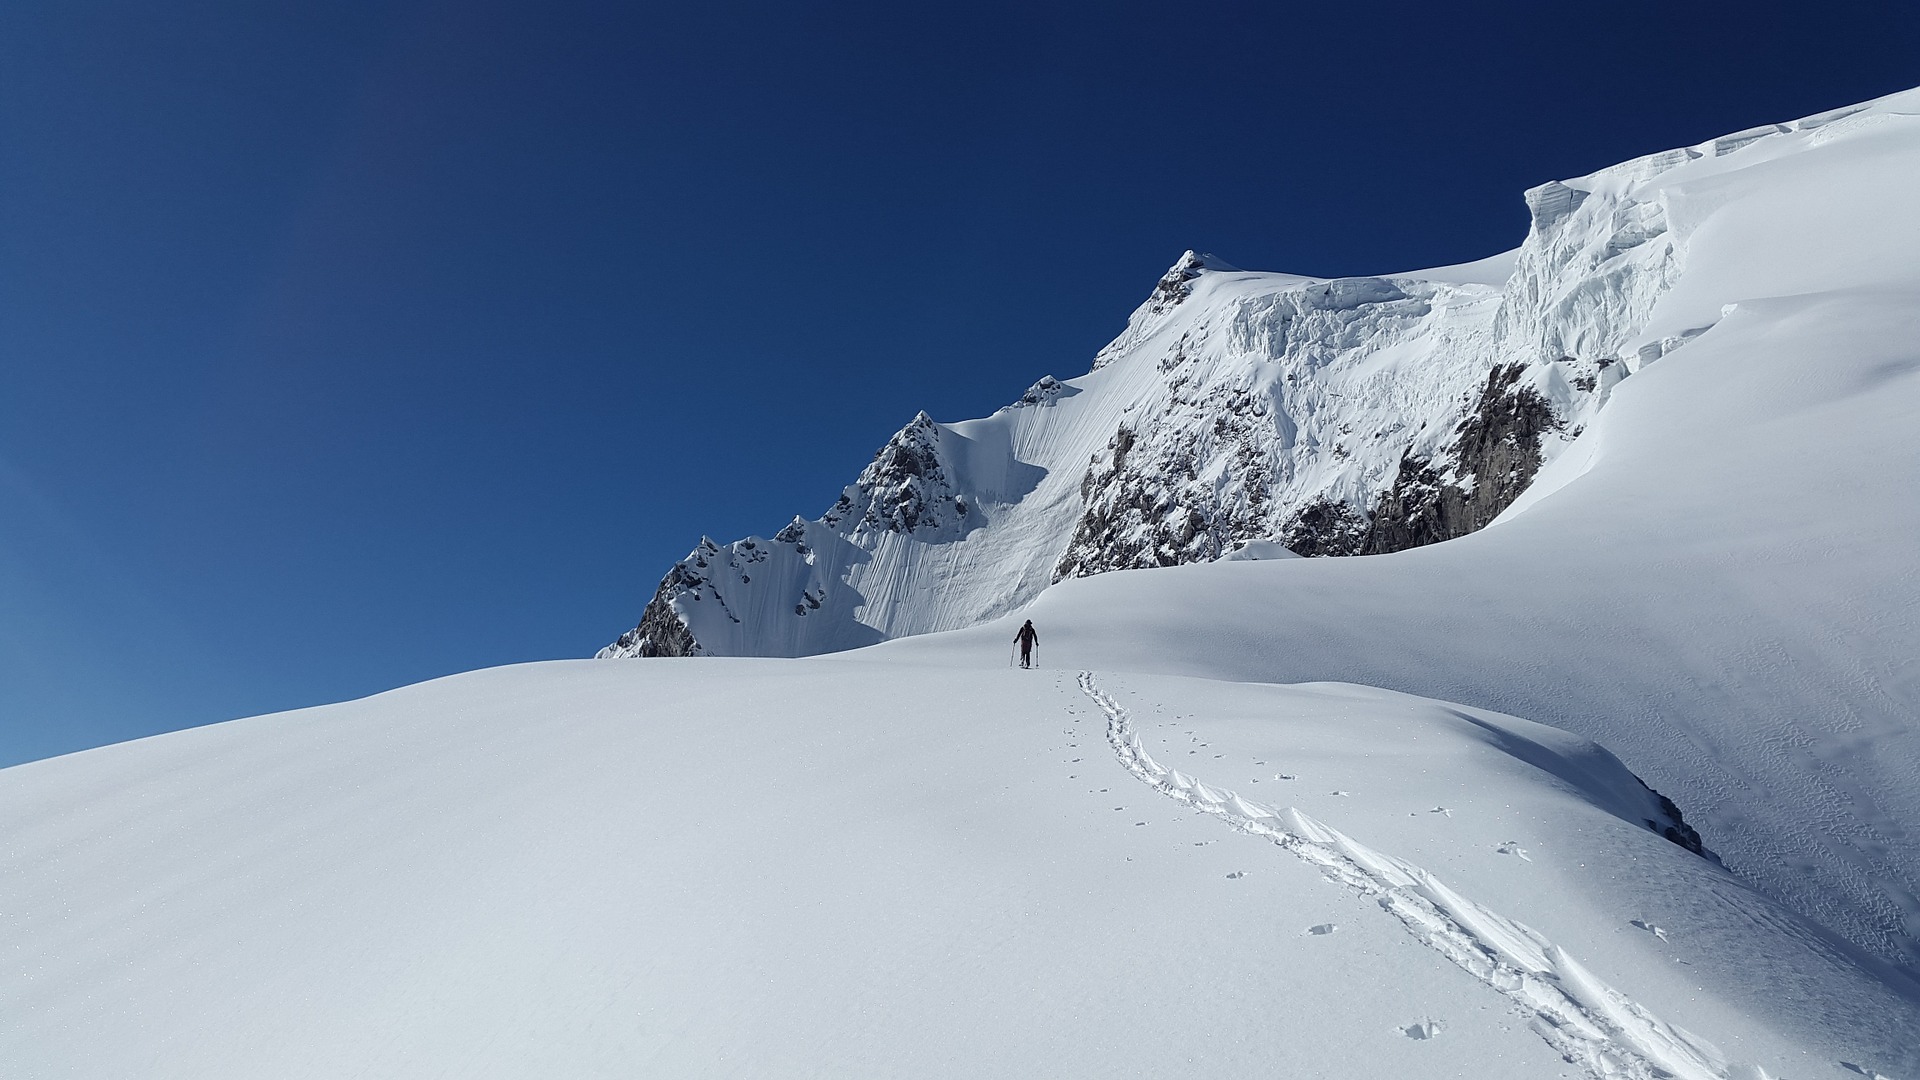
Hiking (or Skinning)
This is likely why most of you are here – it’s why I’m here! There is nothing quite as satisfying as putting your skins on early in the morning and setting off to summit a peak that’s been on your list for years. But I’m getting ahead of myself…
Before you can start skinning, you’ll a few things in terms of equipment (and fitness, but don’t worry about that for now). I’ll touch on them briefly here and go much further in depth in future articles.
Gear You Will Need
The basics that you will need (aside from beacon, shovel, probe, right???) are touring bindings and skins. You should, at some point, consider getting a pair of touring (or AT – alpine touring) boots. A nice light set of skis is great too, but if you’re just starting out these two items aren’t as critical.
For a more detailed description of the gear you will need, refer to our Backcountry for Beginners: Gear Guide.
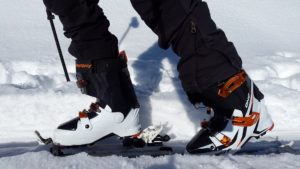
Touring bindings are bindings that allow you to lift your heel with every step on the way uphill. Some of you may recognize that this is similar to the way a cross country binding works. There’s a big difference: on the way down, they lock your heel in place just like an alpine binding.
Skins are the wonderful bit of tech that let you climb mountains, or ski uphill. They’ve been around for almost a hundred years (they’re called skins because they were originally made from animal hides).
Climbing skins are pieces of fabric that attach to the bottom of your skis with tip and tail attachments. They have fibers that provide grip and stop you from sliding backwards when you’re climbing. The way the fibers work, they still allow you to slide when moving forward. Magic!
Modern skins use a variety of synthetics, so rest assured your animal friends are safe.
The Adventure Has Finally begun
So, the morning of your first backcountry trip has arrived. You put your skins on and your bindings and boots are in tour (or hike) mode. Your heels are free, and your climbing skins give you enough grip to start climbing up that mountain. You turn on your transceiver and it’s time to start climbing!
Early in the trip everyone in the group should test their transceivers. You want these to be working, for obvious reasons. I will cover how to do that in detail in a later article.
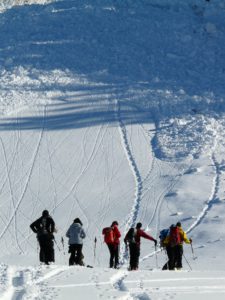
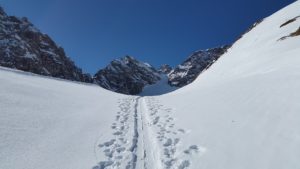
Many popular areas will have a skin track ‘set’ already, meaning there will be a trail to follow. However, if it has snowed recently or if you are in a low traffic area you’ll have to set your own skin track. This is tiring, so routinely switching who leads the group is common practice.
During the climb you will constantly be evaluating the snow conditions for avalanche risk. You will be listening for ‘whumphing’, watching for cracking or sloughing snow, poking holes, digging pits, etc. as you hike. This will help you get an idea of how well the current conditions match the avalanche forecast.
The Transition and Skiing Powder!
As you finish your climb and reach the top of the slope you want to ski, you’ll do what is called the transition. The transition involves removing the skins from your skis and packing them away (inside your jacket on cold days). You will also switch your bindings and boots into ‘ski mode’ or ‘downhill mode’.
For bindings, this means you will lock your heel in place. If you are using touring boots, you will switch them from walk (or hike) mode to ski (or downhill) mode. Most often this is simply a switch on the back of the boot that you flip.
And that’s it! Time to ski some powder!

Until Next Time
That’s the end of this brief intro on how to start backcountry skiing. There is a ton of material that I haven’t covered yet. You’re probably asking yourself what’s the safest way to get a group down the mountain once you reach the top? What other gear do I need? Keep checking the site for more to come.
Be safe out there.