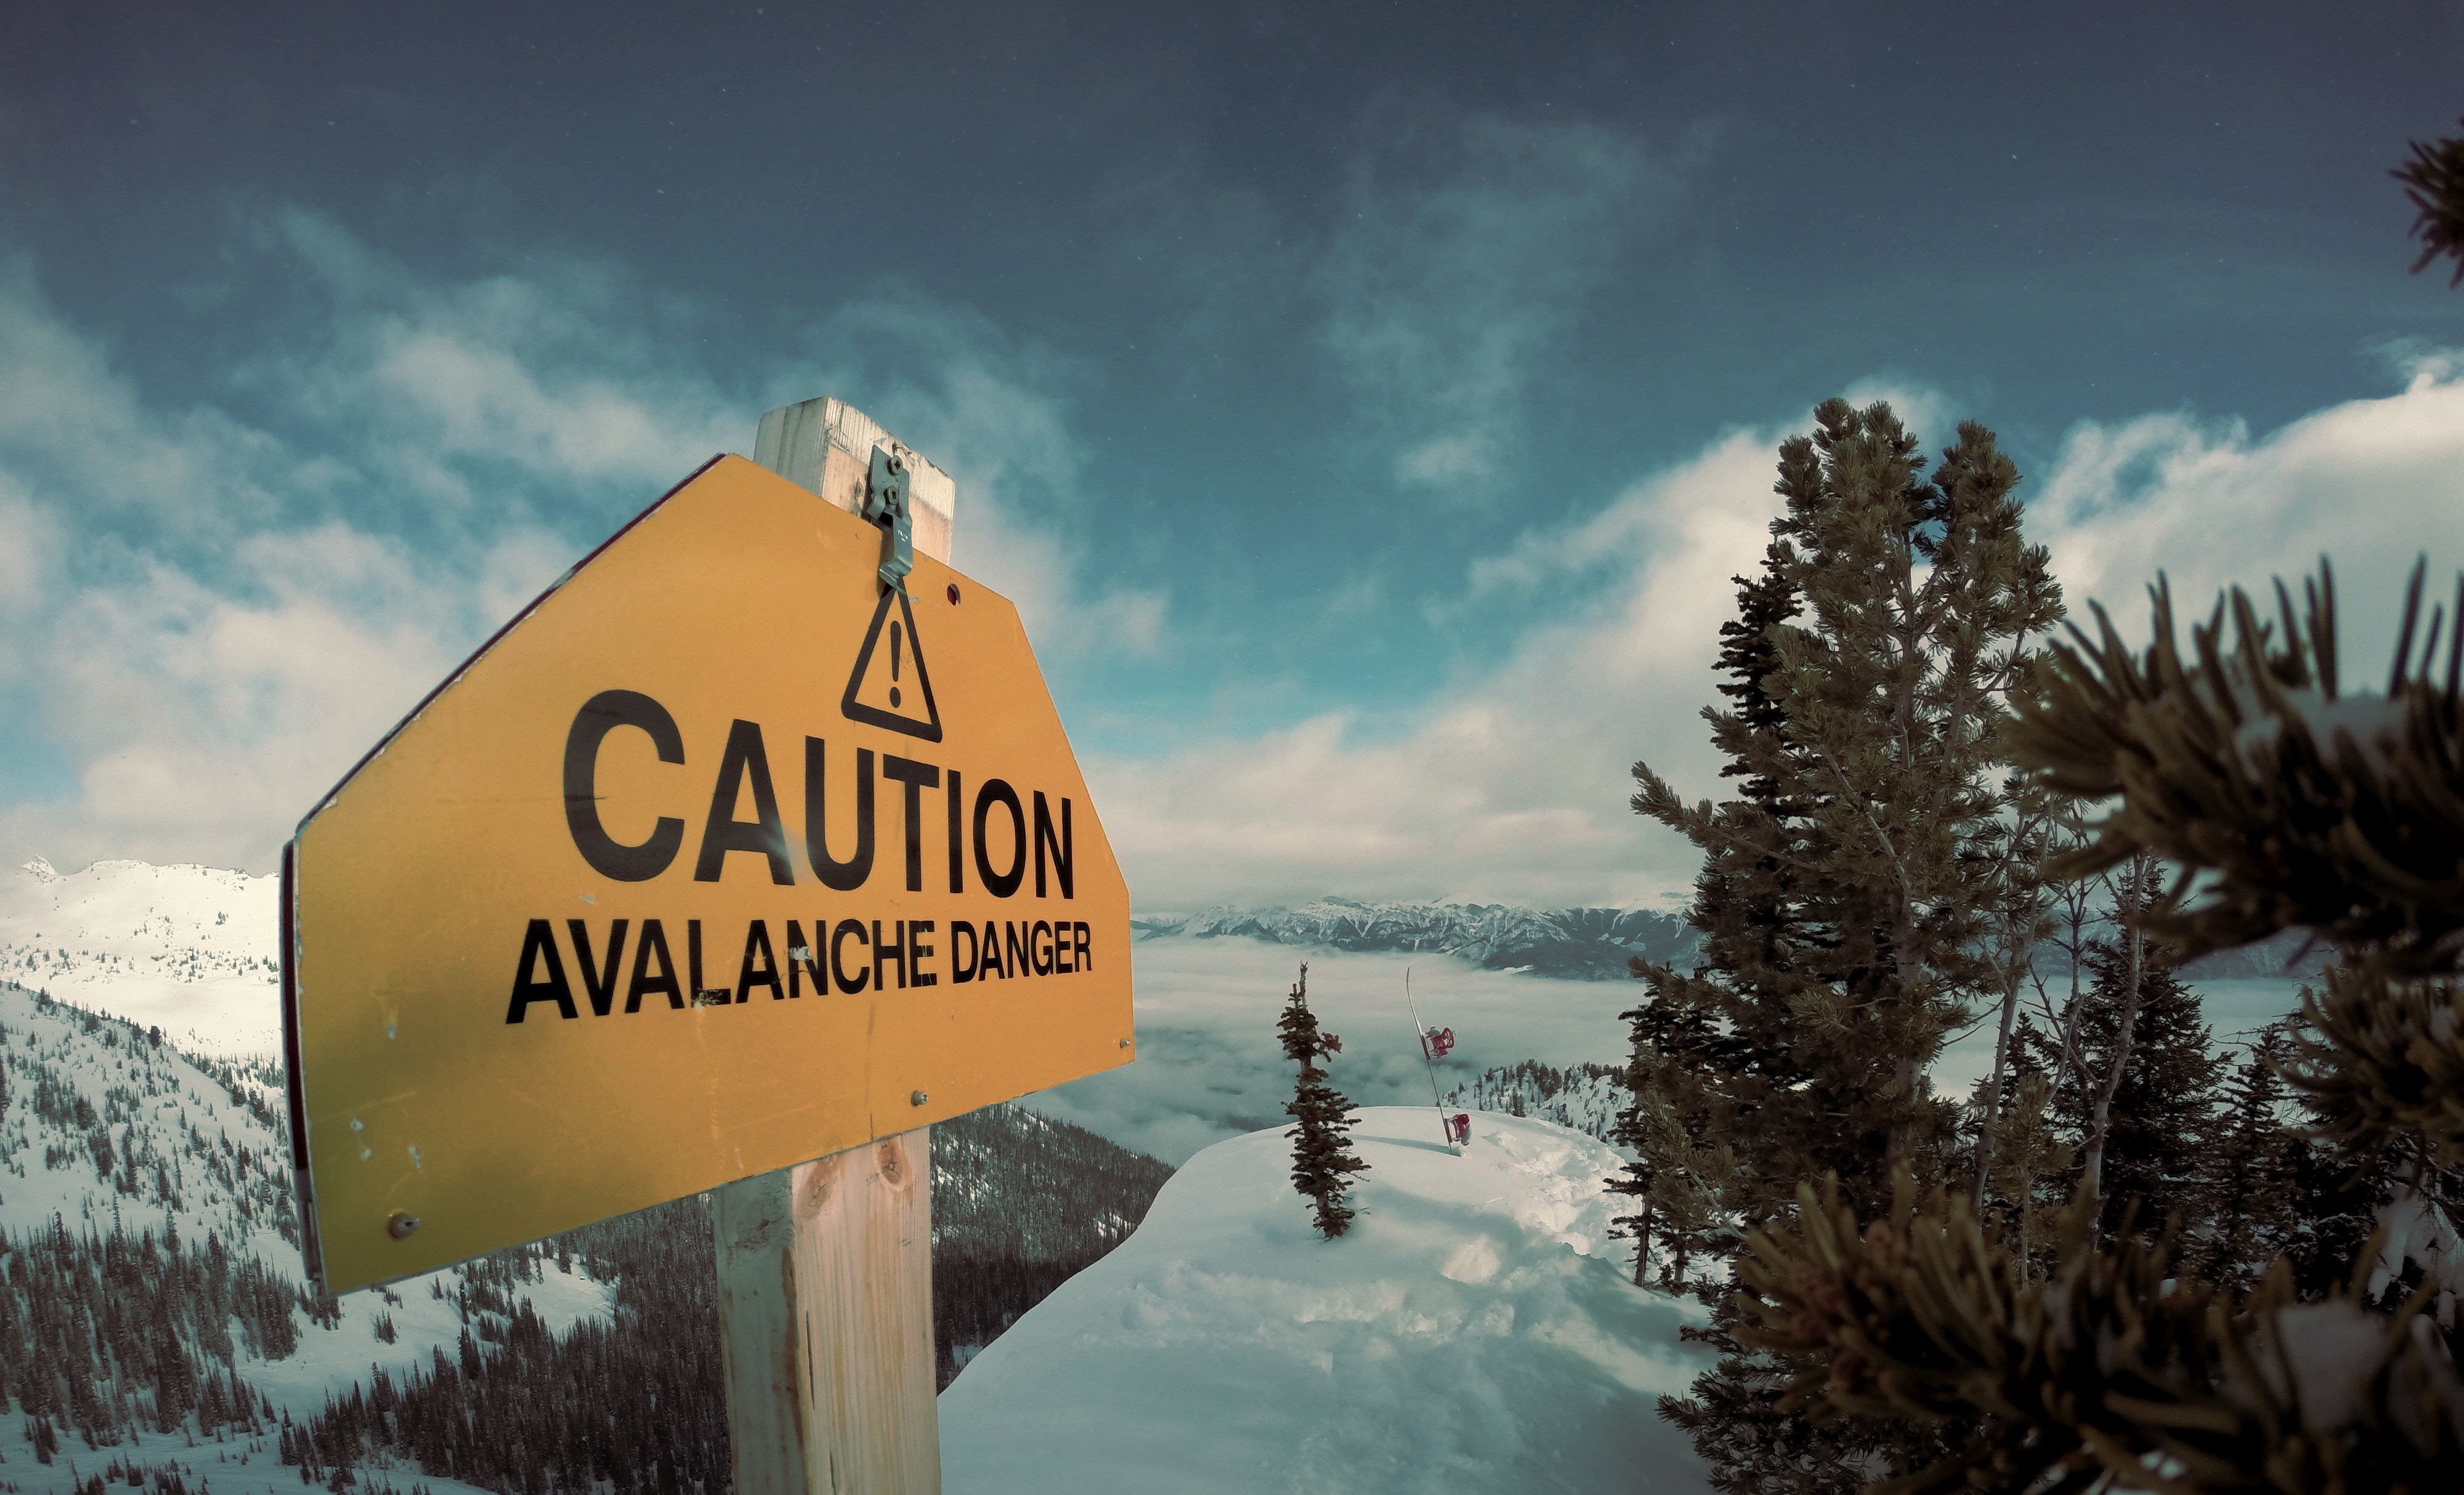
Backcountry Skiing for Beginners: Avalanche Safety Tips
Avalanche Statistics
Before we get into avalanche safety tips, I’m going to (hopefully) scare you a bit with some avalanche statistics.
In this case, you definitely don’t want to be a statistic. Here are a few numbers to give you a sense of how dangerous avalanches can be.
Somewhere between 20 and 50 people die in avalanches in North America every year.
The chance of survival if you get caught in an avalanche is less than 1 in 3.
Not good.
There is a Bright Side
After reading the section above, you might be wondering why anyone would venture into avalanche terrain.
The good news is that with proper training, terrain evaluation, and good decision making, you can mitigate most of the risk and significantly decrease your chances of getting caught in an avalanche.
Avalanche Safety Tips
Here is a list of things to keep in mind before venturing into avalanche terrain. This is aimed at someone who has very little to some experience. That said, there are good reminders in here for everyone. If you’re an absolute noob at all of this, you should give my How To Start Backcountry Skiing article a read first (or second, I’m not your boss).
Avalanche Safety Training
This doesn’t really fall into the category of a ‘tip’, but it’s the most important thing to remember from this article. Take an avalanche safety course.
Do this before venturing into avalanche terrain on your own. Seriously, it isn’t worth the risk.
One exception – many places now offer an ‘Intro to Backcountry Skiing’ trip which generally takes you out touring in some very low risk terrain. This is a great way to get your feet wet, and you don’t necessarily need an avalanche safety course before doing one of these trips.
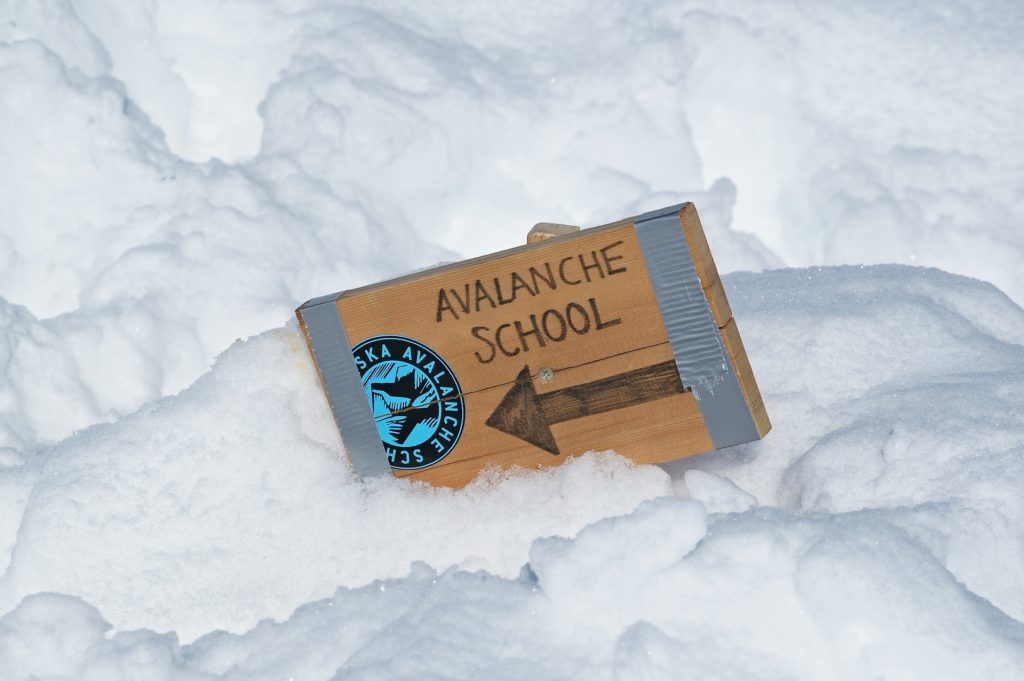
There are courses available all over North America, so head to your favorite search engine and find the one closest to you. A good course is usually a few hundred dollars, and make sure the course you pick has a day in the field.
On a field day, you’ll actually go out and evaluate some avalanche terrain. Classroom training is great, don’t get me wrong, but you will learn a lot more from actually going into the mountains and learning from an experienced guide.
Avalanche.org is a great resource to find a course in the US and avalanche.ca provides a listing for courses and providers in Canada.
Read the Avalanche Forecasts
This is arguably the second most important thing to remember in terms of avalanche safety tips: before venturing into avalanche terrain, read the avalanche forecast.
Don’t skim it, don’t just look at the danger level, READ IT and know the dangers that are present today.
It’s also very helpful to take a look at avalanche forecasts as often as possible. This will help you get a general sense of how stable the snowpack is in a given season and what the long-term hazards are.
Avalanche Safety Gear
I touched on basic requirements for avalanche safety gear in my Backcountry for Beginners: Gear Guide article, but will recap here. There are a few things I didn’t mention in that article that will be covered here too.
Beacon, Shovel, Probe
The three key items are an avalanche transceiver (commonly called a beacon), an avalanche shovel, and a probe.
Make sure you have a modern digital beacon, preferably with 3 antennas (antennae?). Get intimately familiar with how it works and do as many practice searches as you can. You want this to be second nature so you aren’t trying to figure things out in an emergency.
Probes are collapsible poles, kind of like tent poles, and come in varying lengths. 3 meters (9 feet 9 inches) is a pretty typical length. If you typically venture into areas with a really deep snowpack, a longer probe would be useful.
The downside of a longer probe is that your probing will be slightly slower than with a shorter probe, so take that into consideration.

Avalanche shovels come in many different styles, so there are a lot of options. My only suggestion is that you do not get a plastic shovel. Metal is the way to go here. Also get the biggest shovel you’re comfortable carrying in your pack and handling. A tiny shovel makes it really hard to dig quickly, and speed is key in an avalanche rescue situation.
Airbag Packs
There are a few companies that now make backpacks with inflatable airbags, and they work quite well. If you find yourself caught in a slide, you pull a handle and the airbags are inflated using either a CO2 canister or a high-powered fan.
The large bags of air help keep you on top of the avalanche instead of being buried underneath. Don’t look at airbag packs as something that allows you to venture into riskier terrain. Look at them as another tool to help you if you find yourself in an unfortunate situation.
The downsides to airbag packs are that they are quite expensive and add a bit of weight to your existing pack, but I would highly recommend one if you can afford it.
Avalung
Many packs come with a device called an Avalung which is a tube that helps you breathe if you get buried by an avalanche. Using an avalung, you can breathe for much longer in a burial than if you don’t have one. Definitely a good addition to the gear arsenal.
Other Tools
There are quite a few other tools that are useful for snowpack analysis in the field. Their exact use is beyond the scope of this article, but they are worth mentioning.
A slope meter measures the incline of a slope (generally any slope over 25 degrees of inclination could slide). A probe-style thermometer measures the temperature of the snow at different depths. A snow card or snow crystal card is used to measure the size of snow crystals or facets.
Indicators of Instability
When you read the avalanche forecast for the day, you’ll likely see a mention of some of the following. These are all things that you should watch for and take into consideration when you are out touring.
As you get more experienced, this will become second nature, but for now try and remember as many as you can or make a list and take it with you.
Wind Loading
If it has been windy recently, any loose or fresh snow will likely have been transported to lee slopes (the downwind side). The danger in this scenario is that this snow creates what are called wind-slabs that are not well bonded to the snow below.
Solar Warming
Later in the season the sun will have much more of an effect on the snow than in the dead of winter. Two important things can happen as a direct result of the sun: cornices can thaw enough to break free and fall on slopes below, potentially triggering deep layers, and sun facing slopes can become warm enough to become unstable.
When traveling in the backcountry in the spring, be sure to start and end your days earlier on sunny/warm days.
Persistent Weak Layers
If you have been following the avalanche reports at least a little bit for the season, you should be aware of any troublesome layers in the snowpack for your region.
If not, never fear. The report for the day should mention any persistent weak layers that are still present.
A weak layer is one that hasn’t bonded well with the snow above and/or below it and is often caused by rapid temperature changes followed by snowfall on top of the layer.
These layers often hang around for an entire season, so caution is always required if weak layers are present.
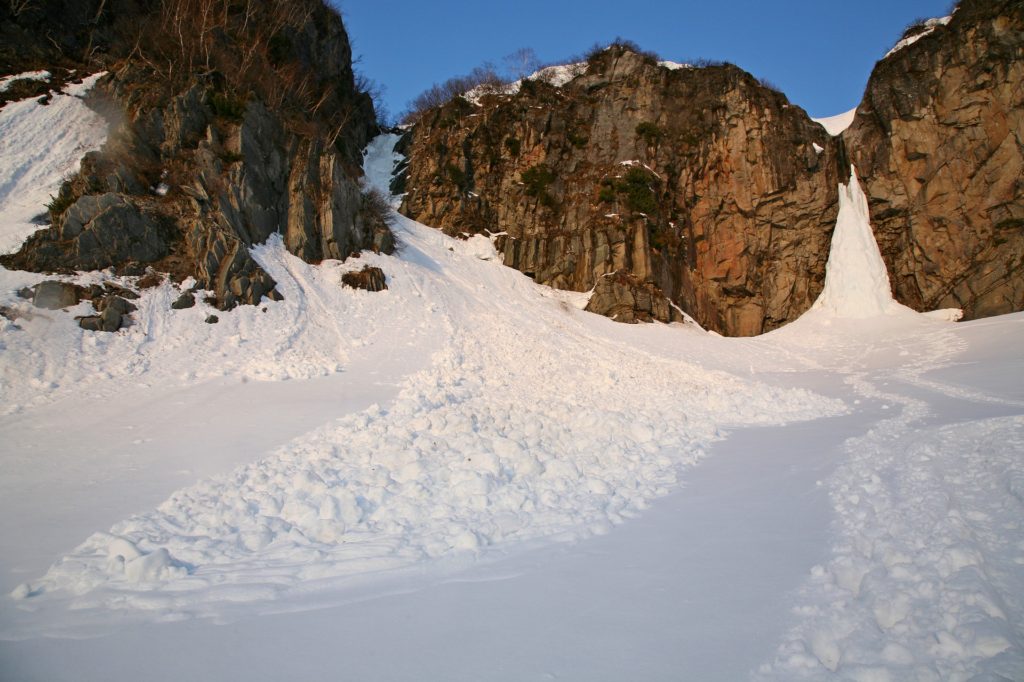
Recent Avalanches
This is a fairly obvious tip, but if you are seeing reports of natural or skier-triggered avalanches this is a good sign that the danger is elevated. I guess that’s a bad sign, really. A natural avalanche means that there was no external trigger – it just slid due to gravity. Skier-triggered means that the slide was caused by the weight of a skier (or more than one).
Heavy Snow (or Rain)
When it snows heavily, the snowpack experiences additional stress. This can change the danger level throughout the day. Slopes that are stable in the morning might not be as safe after having snow piled on them all day.
Obvious Signs of Unstable Snow
When you’re hiking/skinning, watch for signs of instability. If you hear ‘whumpfing’ (which is the snowpack settling) or see cracking, use extra caution.
Also watch steep slopes for any sloughing or avalanche activity throughout the day. You can also perform quick tests on small, safe slopes. This can help give you more information about how stable (or unstable) things are.
Always be Observing
When you’re out in the backcountry you should always keep an eye (and an ear) on what is happening around you. There are a huge number of subtle indicators that will either reaffirm your choice of slope or urge you to use extra caution.
Don’t wear headphones – you need to be listening. It’s also really easy to just put your head down and follow a skin track. This is a bad habit to get into. Be sure to take a good look around you and where you’re going every once in a while.
In Conclusion
There is a lot of information to take in here, so take your time and review anything that didn’t sink in the first time. It’s a good idea to refresh your knowledge the day or night before heading out, too.
Experience is a great teacher. The more you get out in the backcountry and practice good habits the more second nature all of this will become. Pretty soon you’ll be able to give avalanche safety tips to all of your touring buddies!
Stay safe out there.